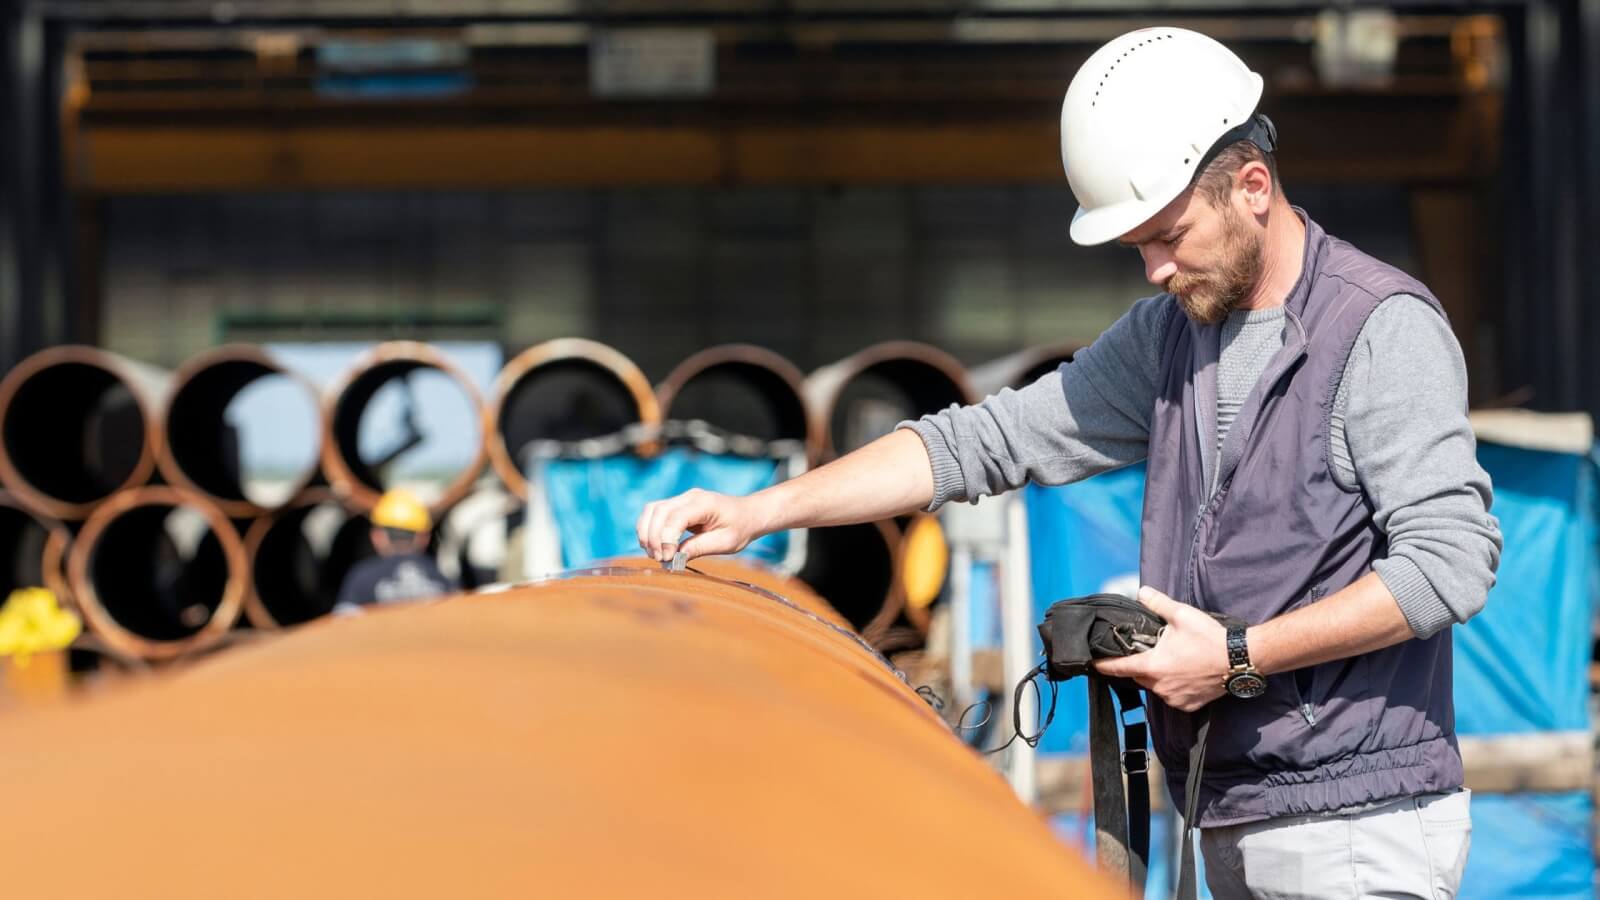
In-process inspection is a critical element in manufacturing, that ensures that products meet quality standards before reaching the final stages of production. This preliminary examination helps identify defects and non-compliance early, significantly reducing the cost and time involved in rework.
What is In-Process Inspection?
In-process inspection is a vital component of manufacturing that involves the systematic examination of products during their production to ensure they meet predetermined quality standards. This proactive approach is integral to maintaining product integrity and efficiency in production lines.
In-process inspection primary goals include:
- Ensuring Compliance: It helps ensure that every product component complies with strict industry standards and customer specifications, preventing costly compliance issues.
- Enhancing Product Quality: Regular inspections help identify and correct defects at early stages, thereby maintaining high quality in the final product.
- Reducing Waste: By catching errors early in the production cycle, companies can reduce waste and save on materials and resources.
- Optimizing Production Process: Continuous feedback from in-process inspections leads to better process control and efficiency, optimizing the overall manufacturing operations.
- Increasing Customer Satisfaction: High-quality products manufactured with consistent adherence to quality standards lead to increased customer trust and satisfaction.
When Should In-Process Inspection Occur?
It is important to implement in-process inspection checks at strategic points where they can most effectively prevent errors and ensure quality.
Typical Stages in Production for Critical Inspection:
- Raw Material Inspection: Upon arrival, materials should be inspected for quality and specification compliance before use.
- Post-Assembly Inspection: After assembly, a detailed check ensures that all parts have been correctly assembled and function as intended.
- Final Product Inspection: Before the product is cleared for shipping, it undergoes a final inspection to ensure it meets all quality and functional requirements.
Key Stages for In-Process Inspection:
- Initial Processing Stage: Early in the production process, checking for dimensional accuracy and material defects is crucial.
- During Critical Production Phases: Inspection during critical production stages, such as before and after significant transformations or additions.
- Pre-Packaging Inspection: Before packaging, ensuring that the product meets the final quality standards without any physical or functional defects.
What Types of In-Process Inspections Are Conducted?
In-process inspections can be broadly categorized into visual, dimensional, and functional testing, each employing specific tools and technologies to achieve thorough and accurate assessments.
Visual Inspection Techniques
Visual inspections are the first line of defense in quality control, focusing on the external condition of products. Inspectors look for surface defects, alignment issues, and general appearance to ensure that each part adheres to visual quality standards.
Technologies used in visual inspections often include high-resolution cameras, magnifying glasses, and advanced imaging software that helps to detect even the minutest imperfections that might not be visible to the naked eye.
Dimensional Inspection Techniques
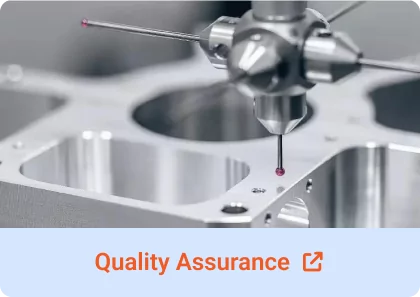
Dimensional inspections measure the physical dimensions of components to ensure they fall within specified tolerances. Tools like calipers, micrometers, and coordinate measuring machines (CMMs) are commonly used.
These devices provide precise measurements that are critical for components that must fit together perfectly in complex assemblies, such as in aerospace and automotive manufacturing.
Functional Inspection Techniques
Functional testing evaluates the performance of a component or assembly under conditions that simulate its operational use. This may include stress tests, leakage tests, and electrical function tests, depending on the product.
Equipment used in functional testing varies widely, ranging from load testers to circuit testers and software for simulation environments, ensuring that every product not only looks right but will perform as expected in real-world applications.
How Do You Conduct an Effective In-Process Inspection?
Conducting an effective in-process inspection requires meticulous planning, execution, and follow-up.
Here’s a step-by-step guide to ensure that every phase of the inspection process contributes to the overall quality of the manufacturing process.
Establishing Clear Quality Standards
Quality standards form the foundation of effective in-process inspections. These standards should be clearly defined, documented, and accessible to all members of the manufacturing and quality control teams.
Development and maintenance of these standards often involve continuous feedback loops between production teams and quality assurance personnel to adjust standards based on evolving product designs and manufacturing techniques.
Training for In-Process Inspection
Comprehensive training programs are crucial for equipping inspection teams with the necessary skills and knowledge. Training typically covers the latest inspection techniques, use of new tools and equipment, and updates on industry standards like ISO 9001.
Regular workshops and refreshers are scheduled to ensure that all inspectors are on the same page and perform their duties with a high degree of expertise.
Using the Right Tools and Equipment
For in-process inspections to be effective, the use of proper tools and equipment is crucial. These tools not only need to provide accurate measurements and data but also must be reliable and efficient to handle the demands of a continuous production environment.
Here’s a list of essential tools and equipment commonly used in in-process inspections across various industries:
- Calipers and Micrometers: These precision tools are used for measuring the physical dimensions of components. They are vital for ensuring that parts meet specified tolerances.
- Coordinate Measuring Machines (CMM): CMMs are used for complex dimensional verifications. They provide detailed 3D measurements of objects, ensuring high precision and compliance with design specifications.
- Gauges: Various types of gauges, including thread gauges, plug gauges, and ring gauges, are used to check and verify component dimensions and fit.
- Visual Inspection Systems: Advanced cameras and imaging systems help detect surface defects and imperfections that might not be visible to the naked eye.
- Hardness Testers: These are used to measure the hardness of materials, ensuring they meet the necessary durability specifications.
- Spectrometers: For inspections that require material composition analysis, spectrometers provide a breakdown of the elements involved, ensuring material compliance with industry standards.
- Thermal Imaging Cameras: These cameras are used to detect heat variations and inconsistencies in electrical components and assemblies, identifying potential failures before they occur.
- Ultrasonic Testing Equipment: This non-destructive testing equipment is used to identify defects in materials, such as cracks or inclusions, using high-frequency sound waves.
- Pressure Gauges and Leak Detection Equipment: For products that will operate under pressure, these tools ensure no leaks or weaknesses that could lead to failures under operational stresses.
- Software for Statistical Process Control (SPC): SPC software helps monitor process stability and control by tracking data and identifying variations that might indicate potential issues in the manufacturing process.
What are the Benefits of In-Process Inspection?
In-process inspection offers numerous advantages that significantly impact the efficiency and quality of production processes. Here, we highlight these benefits, emphasizing how they contribute to a more robust manufacturing operation:
- Cost-Effectiveness: By identifying defects early in the production cycle, in-process inspections reduce the cost associated with reworks and scrap. Early detection helps in managing resources more efficiently, thus saving money in the long run.
- Enhanced Quality Control: Continuous monitoring during the manufacturing process ensures that the products adhere to the required quality standards, which enhances the overall quality of the output.
- Reduced Production Delays: With regular checks, potential issues are identified and rectified promptly, minimizing delays that could impact delivery timelines and customer satisfaction.
- Improved Compliance: Regular inspections help ensure compliance with industry standards and regulations, such as ISO 9001, which can prevent costly legal issues and enhance market reputation.
- Increased Customer Trust: Delivering products that consistently meet quality expectations leads to higher customer satisfaction and trust, which are crucial for long-term business success.
- Feedback for Continuous Improvement: In-process inspection provides immediate feedback on production processes, allowing for quick adjustments and improvements. This continuous loop of feedback and enhancement fosters innovation and efficiency.
What are In-Process Inspection Challenges?
While in-process inspections are beneficial, they also present several challenges that can impact the effectiveness of the process. Understanding these challenges is essential for developing strategies to mitigate them effectively.
- Resource Allocation: Significant resources—both in terms of time and personnel—are required to conduct thorough inspections. Allocating these resources without disrupting the production flow is a constant challenge.
- Need for Specialized Training: Effective in-process inspections require skilled inspectors who are trained to identify and address potential issues. Regular training and updating of skills are necessary, which involves additional time and investment.
- Integration with Production Processes: Seamlessly integrating inspection processes into existing production lines can be complex, especially in facilities with older equipment or limited space.
- Maintaining Inspection Equipment: The tools and technologies used for inspections need regular maintenance and calibration to function accurately, which can be costly and time-consuming.
- Adaptation to New Standards: Keeping up with evolving industry standards and regulations requires ongoing adjustments to inspection procedures, which can be challenging for organizations to manage continuously.
What Are Common Mistakes in In-Process Inspection and How to Avoid Them?
Even with robust systems in place, certain common mistakes can occur. Identifying these errors and implementing strategies to avoid them can significantly enhance the inspection process.
Typical Errors in In-Process Inspection:
- Overlooking Minor Defects: Inspectors may sometimes overlook minor defects that can cumulatively affect the final product quality.
- Inconsistent Application of Standards: Different inspectors might apply quality standards inconsistently, leading to variations in product quality.
- Inadequate Training: Inspectors who are not adequately trained may misinterpret specifications or fail to use inspection tools correctly.
- Failure to Update Inspection Protocols: As production processes evolve, failing to update inspection protocols can result in checks that are no longer relevant to the product being produced.
- Poor Documentation: Incomplete or inaccurate documentation of the inspection process can hinder the ability to trace back issues or improve the inspection process.
Strategies to Mitigate These Mistakes:
- Regular Training: Ensure that all inspectors receive ongoing training on the latest inspection techniques and standards. This training should also include updates whenever there are changes in production processes or quality standards.
- Standardization of Procedures: Develop and enforce standardized procedures for all types of in-process inspections. This helps in maintaining consistency across different teams and shifts.
- Detailed Documentation: Implement a robust documentation system that records all inspection results and procedures accurately. This should include details on any deviations from the norm and corrective actions taken.
- Regular Review and Update of Protocols: Periodically review and update inspection protocols to align with new manufacturing technologies and product designs.
- Use of Advanced Inspection Technologies: Incorporate advanced technologies such as automated inspection systems that can reduce human error and increase the accuracy of inspections.
Implementing Statistical Process Control (SPC)
Statistical Process Control (SPC) is a scientific, data-driven methodology for quality control that utilizes statistical methods to monitor and control a process. This helps ensure the process operates at its fullest potential, producing as much conforming product as possible with minimal waste.
SPC is highly relevant to in-process inspections as it provides a quantitative basis for decision-making. By collecting data from various stages of the manufacturing process and using statistical methods to analyze it, manufacturers can identify patterns and variances that might indicate underlying problems.
How SPC is Integrated into Regular Operations
- Data Collection: Implement systems for continuous data collection at critical points in the manufacturing process.
- Real-Time Monitoring: Use real-time monitoring to immediately detect deviations from the established control limits.
- Statistical Analysis: Regularly analyze the collected data using statistical methods to predict trends, understand variability, and identify the root causes of variations.
- Feedback Mechanisms: Establish mechanisms to feed back the information obtained from statistical analyses into the production process to facilitate continuous improvement.
- Training: Train personnel on the principles of SPC, including how to interpret data and make adjustments to the process based on statistical evidence.
Supplier Monitoring and Its Impact on In-Process Inspection
The quality of inputs from suppliers directly affects the efficacy of in-process inspections and, ultimately, the quality of the final products. Effective supplier monitoring is crucial in maintaining high standards throughout the production cycle.
Suppliers play a critical role in the production process by providing materials and components that meet pre-defined specifications. The consistency and quality of these supplied materials can significantly influence the overall product quality, impacting everything from production efficiency to end-product reliability.
Thus, maintaining strong relationships with suppliers and ensuring they understand and meet the company’s quality requirements is essential for successful manufacturing outcomes.
Methods for Auditing and Monitoring Suppliers
- Regular Audits: Conduct regular on-site audits to assess the supplier’s processes, quality control systems, and compliance with industry standards. These audits help identify areas of improvement and ensure that suppliers meet contractual obligations regarding quality.
- Performance Metrics: Establish clear performance metrics, such as defect rates, delivery times, and response times for addressing quality issues. These metrics allow for ongoing evaluation of suppliers and help in making informed decisions about contract renewals or changes.
- Quality Agreements: Develop comprehensive quality agreements that outline the expectations and responsibilities of both parties. These agreements should include detailed specifications for the materials or components supplied and the consequences of non-compliance.
- Supplier Development Programs: Implement supplier development programs that help suppliers improve their quality management practices. These programs can include training sessions, regular feedback loops, and collaborative problem-solving initiatives.
- Technology Integration: Utilize technology to improve communication and data sharing with suppliers. Systems like ERP and SCM can provide real-time visibility into the supply chain, helping to monitor supplier performance and quickly address any issues that arise.
The Role of Continuous Improvement in In-Process Inspection
Continuous improvement is a fundamental aspect of modern quality management systems and can significantly enhance the effectiveness of in-process inspections.
- Feedback Mechanisms: Establish robust feedback mechanisms that allow inspection staff to report issues, suggest improvements, and share insights about the inspection process. This can lead to more effective strategies and help in adjusting inspection protocols to better meet production needs.
- Regular Training and Upgrading: Continuous training programs for inspection personnel to keep them updated on the latest inspection technologies, standards, and methodologies. This training helps in addressing the evolving challenges of production and maintaining high-quality standards.
- Data-Driven Decisions: Implement a data-driven approach in continuous improvement efforts. Use data collected from in-process inspections to identify trends, pinpoint areas of concern, and inform decisions about changes to the inspection process.
- Kaizen Events: Organize Kaizen events that focus on specific areas of the in-process inspection to devise solutions that enhance efficiency and effectiveness. These events encourage team involvement and foster a culture of proactive improvement.
- Pilot Testing: Before rolling out significant changes in the inspection process across the board, conduct pilot tests to evaluate the effectiveness of these changes. This approach allows for fine-tuning methods based on real-world feedback and results.
- Encouraging Suggestions and Feedback from Staff: Creating an open environment where staff can easily share their feedback and suggestions without fear of reprisal is crucial. Encouraging this open communication helps harness the collective expertise of the inspection team and leverages their firsthand experience to improve inspection processes. Regular team meetings, suggestion boxes, and leadership open-door policies are effective ways to foster this environment.
Documentation and Analysis of In-Process Inspection Results
Effective documentation and analysis of in-process inspection results are pivotal to maintaining a robust quality assurance system. This approach not only helps in identifying immediate issues but also contributes to long-term improvements in manufacturing processes.
Documentation provides a traceable record of the inspection process and outcomes. It ensures that all aspects of the inspection are recorded, allowing for accountability and transparency. Documentation helps in:
- Traceability: It provides a history of the product’s quality and the process’s adherence to specifications, which is essential for troubleshooting defects and understanding the production lifecycle.
- Compliance: Maintaining thorough records is often a regulatory requirement in many industries, helping businesses comply with industry standards like ISO 9001.
- Continuous Improvement: By reviewing past inspection documents, manufacturers can identify patterns and areas for improvement, enhancing the overall efficiency and effectiveness of their quality control systems.
Guidelines on Effective Analysis Methods to Improve Future Inspections
- Data-Driven Insights: Use statistical methods to analyze inspection data, which can help identify common failures or potential areas of risk. Techniques such as statistical process control (SPC) can be instrumental in this regard.
- Root Cause Analysis: Implement root cause analysis techniques to delve deeper into the reasons behind defects or failures noted during inspections. This approach helps in implementing more effective corrective actions.
- Trend Analysis: Regularly review the documented results to spot trends that may indicate underlying issues in the production process or with the raw materials used.
- Performance Reviews: Use the documentation to conduct periodic performance reviews of both the inspection process and the inspectors to ensure high standards are maintained.
How to Schedule and Plan Regular In-Process Inspections?
The three main steps to properly schedule and plan in-process inspections are:
- Assess Production Volume: Inspection schedules should be aligned with production volumes. Higher production rates may require more frequent inspections to prevent quality lapses.
- Critical Control Points: Identify critical points in the production process where inspections can provide the most benefit in terms of quality assurance and risk management.
- Resource Availability: Plan inspections based on the availability of qualified inspectors and necessary equipment to avoid bottlenecks.
Considerations for Different Production Scales and Types
- Scale of Operation: Larger operations may need a more dynamic scheduling system to handle the volume and complexity of inspections, possibly integrating automated inspection technologies.
- Type of Product: The nature of the product affects inspection requirements; for example, pharmaceuticals and food products often require more stringent and frequent checks compared to non-consumable goods.
- Production Methodology: Continuous production lines might need real-time monitoring systems, while batch production might be better suited to end-of-batch inspections.
 Services


